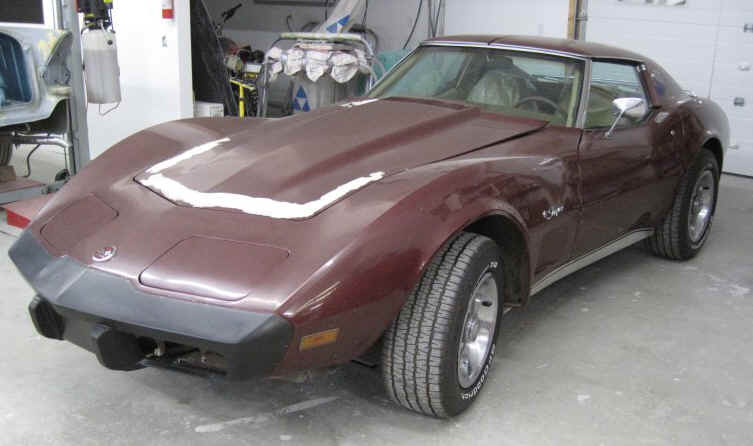
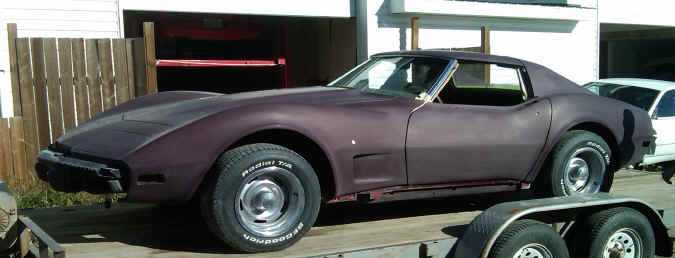
1976 Corvette
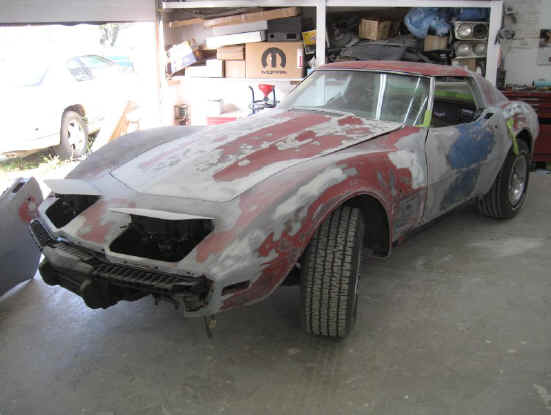
This is no minor clean up, the car came into out shop in decent shape but the owner wants it as perfect as it can be without a frame off restoration. All the trim and paint is stripped, all fiberglass and "soft" areas are soda blasted and all the metal brackets, mounts, and supports are glass bead blasted. To finish it off perfectly the car is clear coated with 4 coats of clear then fully block sanded and coated with 4 more coats of clear before wet sanding and power polishing.
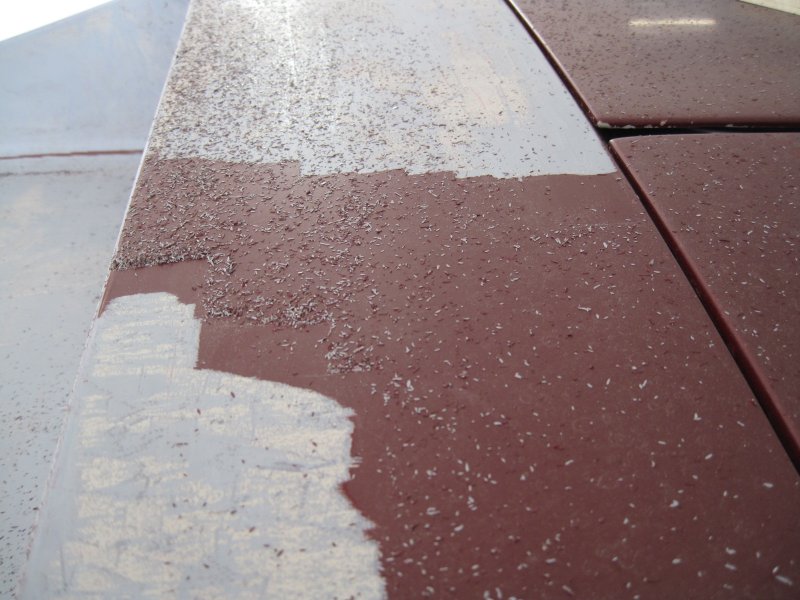
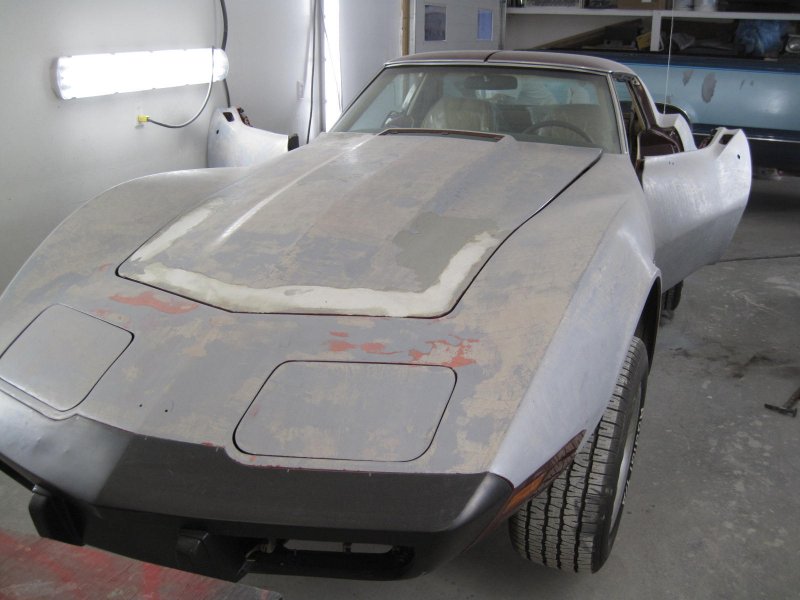
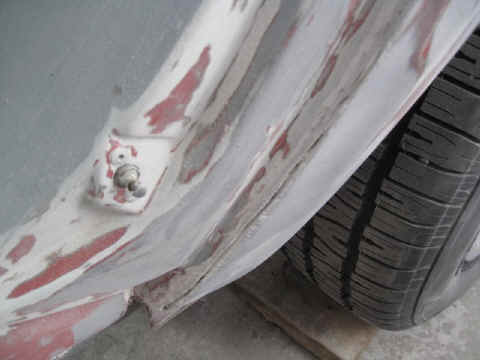
As you can see the paint was peeling off, it had such bad adhesion that it was easier to scrap the paint of the chemical strip or sand. Obviously great care must be taken not to gouge into the fiber glass when stripping paint this way.
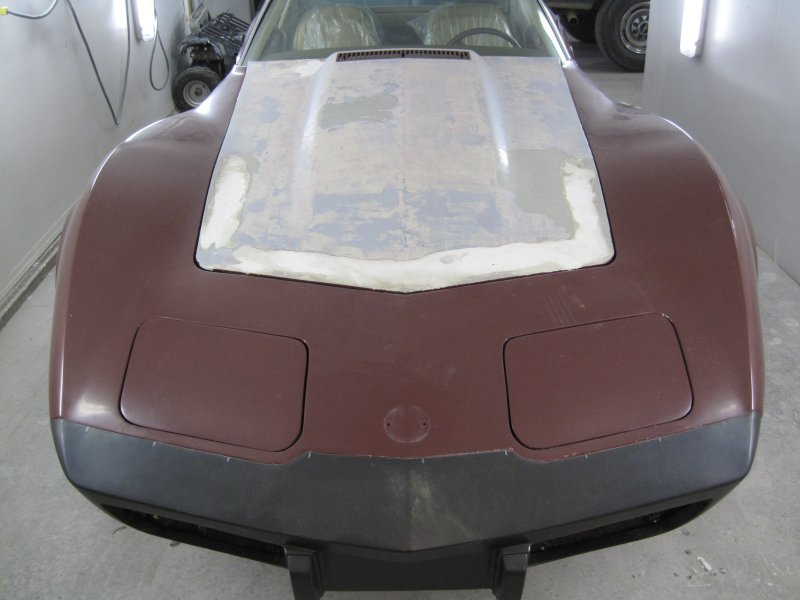
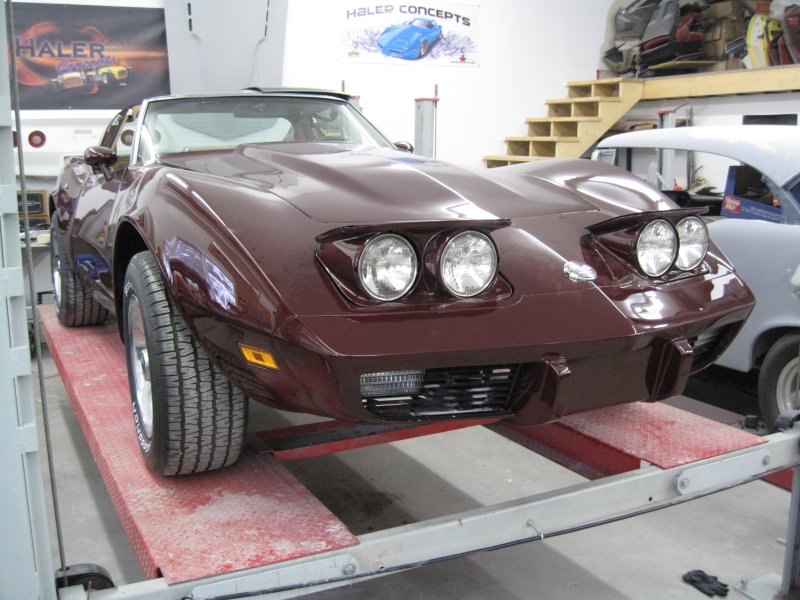
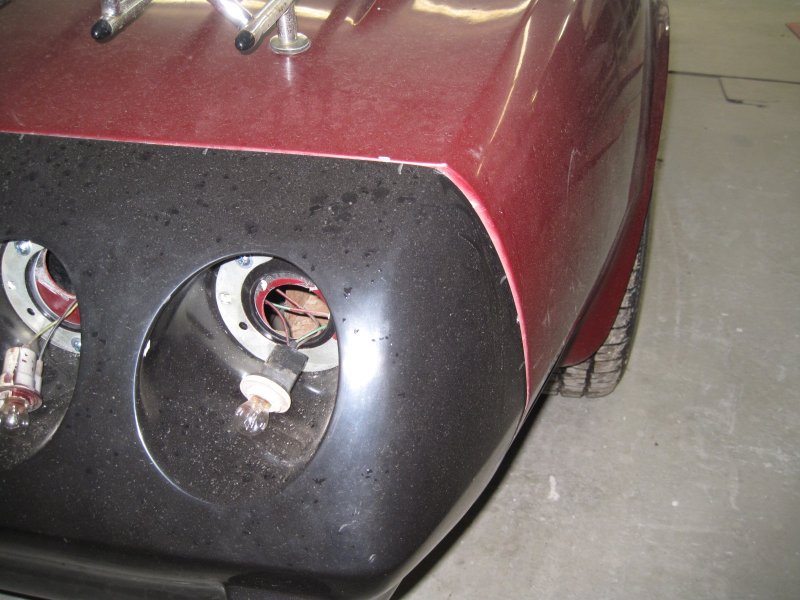
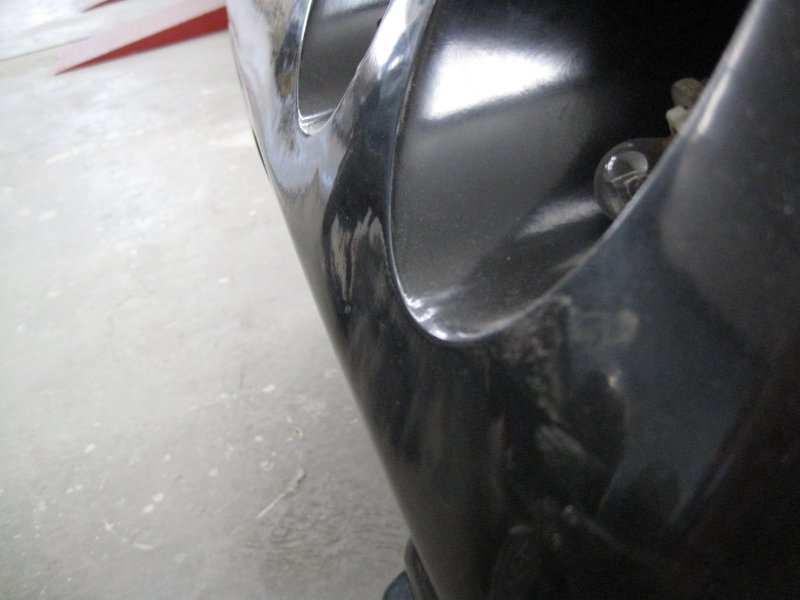
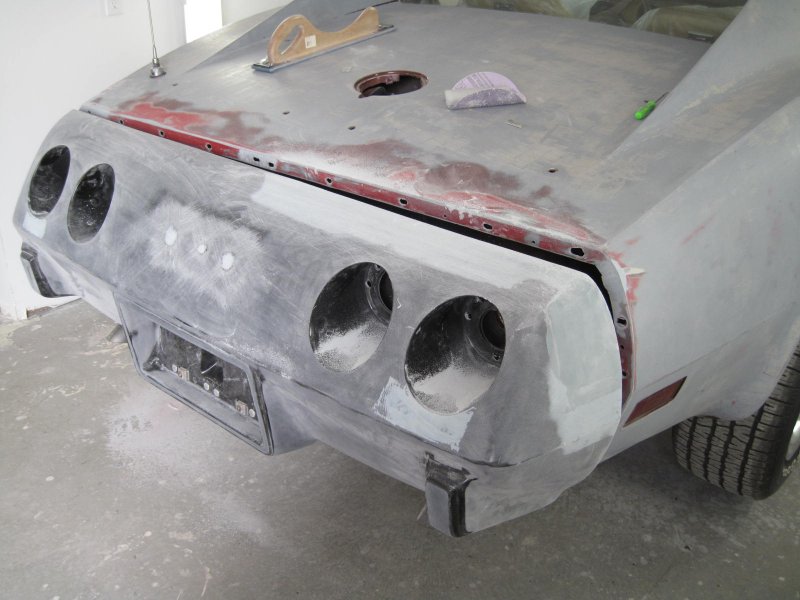
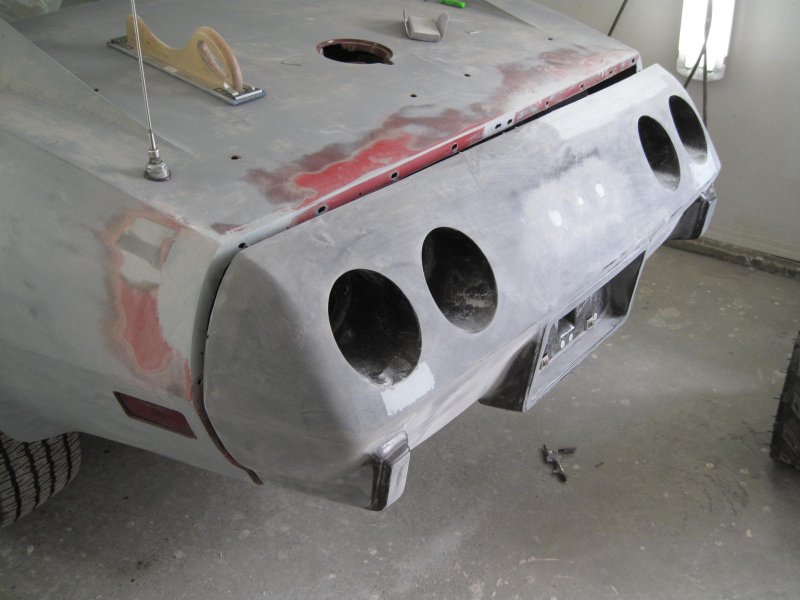
As with all these C3 Corvette's the new bumpers don't line up at all so lots of work goes into fitting them properly, as well as getting all the waves out of them. You can see in the picture that the edge is about 1/2 off the body line and there are no smooth areas any where on these bumpers.
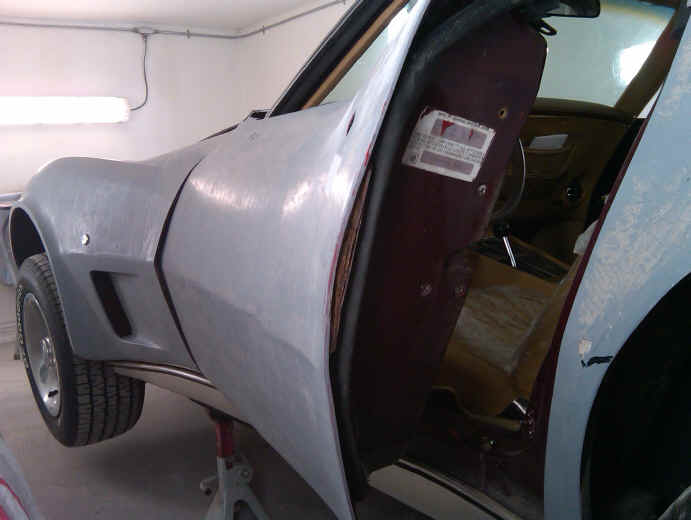
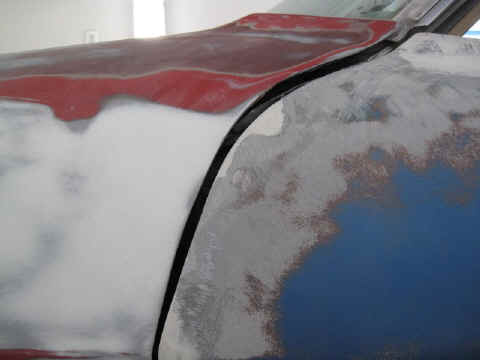
Looking down the body line you can see the door has swelled out from rusting on the impact support brace inside. Doesn't look to noticeable on the outside but once you open the door it is very clear. This and the many, many small common cracks in the fiber glass around the body will need to be taken care of.
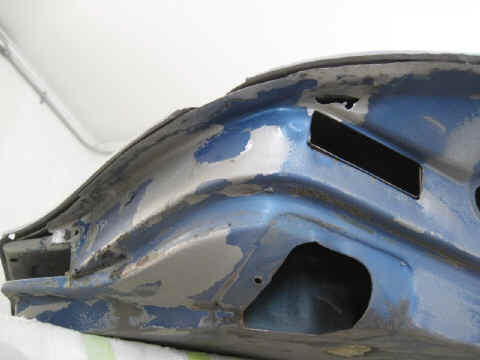
The door was so badly rusted on the inside that we decided to replace it with another '76 door that looked to be usable... it was the lesser of two evils but was delaminating and the edges didn't match the cars at all so they had to be remade. Here's the body line before it was repaired, in the next picture you can see that the skin is peeling away from the door and there was some hidden repairs that we removed while soda blasting. The whole door was blasted inside and out.
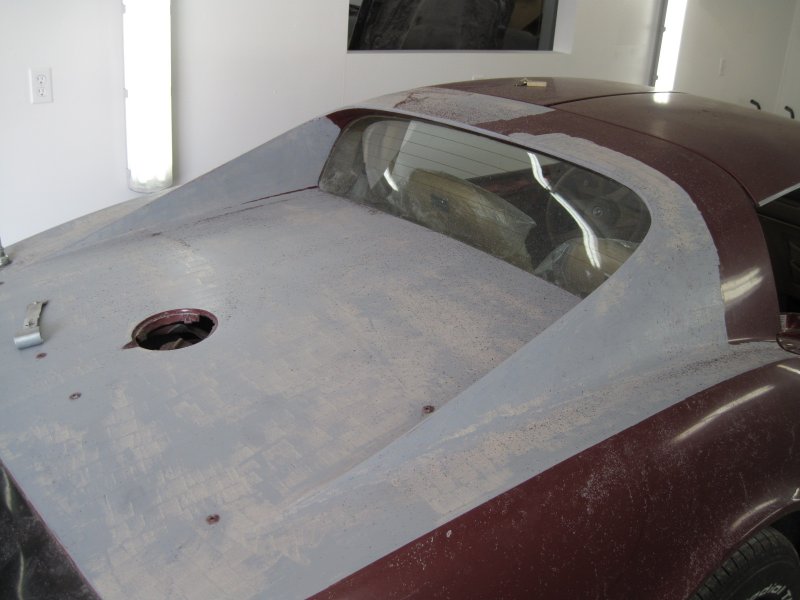
Both the door jambs were soda blasted clean as well as under the hood as there was a large amount of over spray from a past paint job. Of course this always leads to finding more damage, there was a large crack up the door pillar that had been filled with seam sealer. We dug this out and fiber glassed it properly.
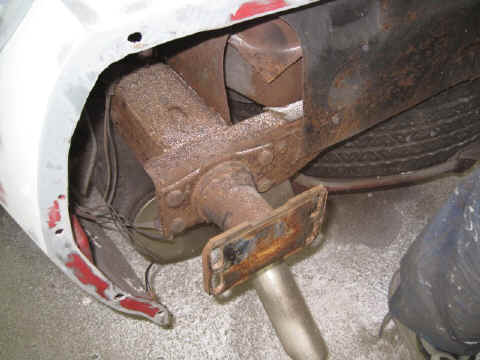
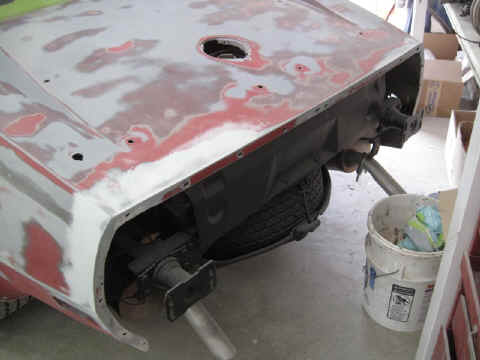
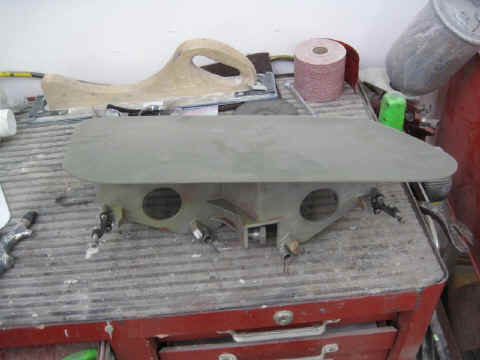
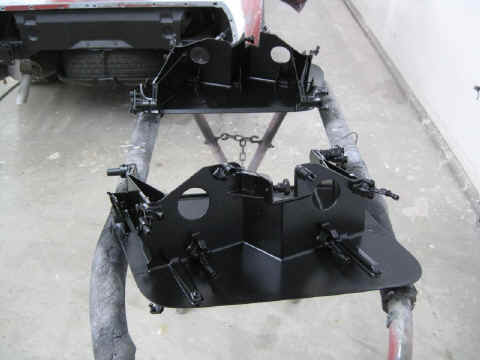
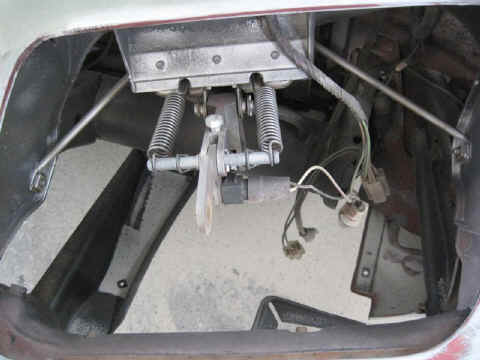
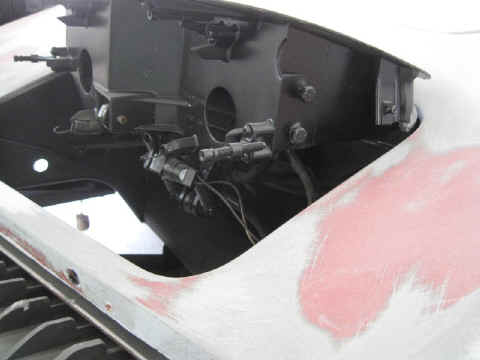
The owner didn't want any rust on any brackets or mounts so every little piece was removed and blasted before being painted or undercoated and put back together. Here are some before and after photos.
Before priming the outside the door jambs are primed and painted and the doors, hood, and headlights are all lined up perfectly.
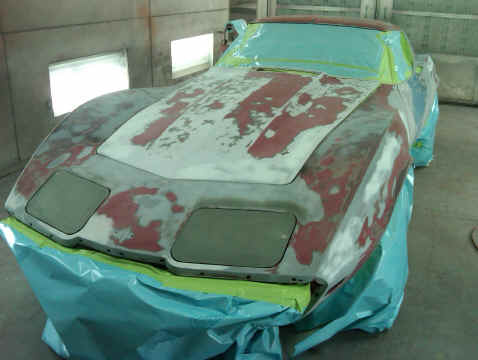

After priming the car is hand block sanded top to bottom then wheeled back into the booth.
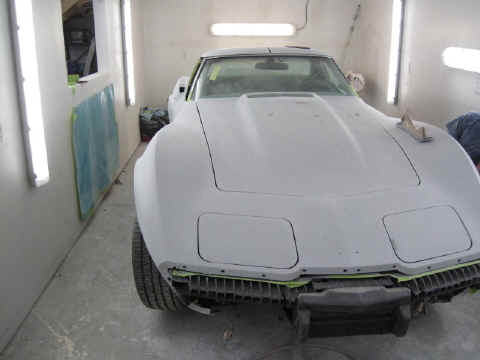

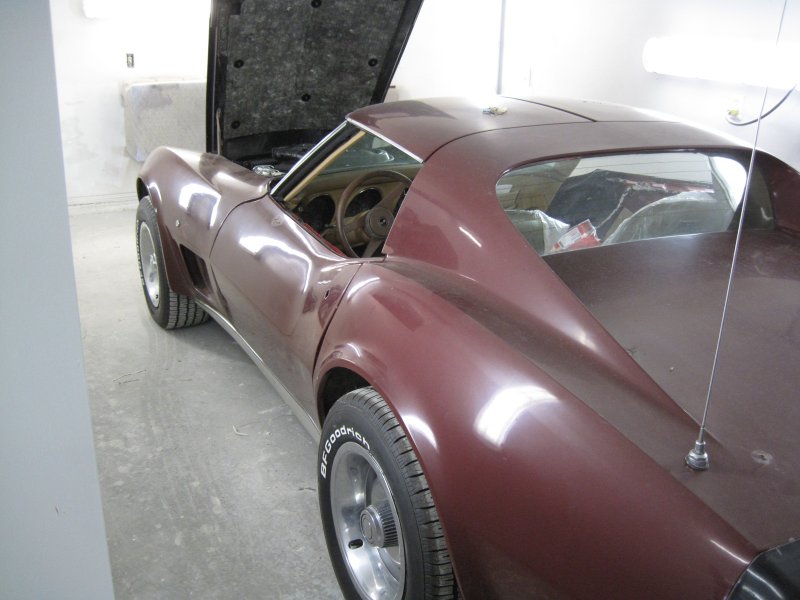
Color matched sealer is applied, then color and clear. Here is the car after it has had the first stage of clear sanded and ready to go back into the booth for more clear.
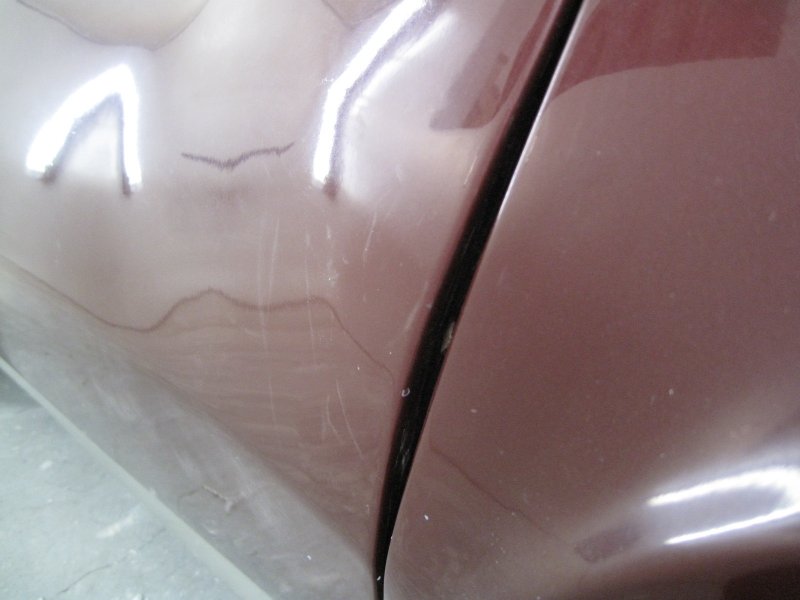
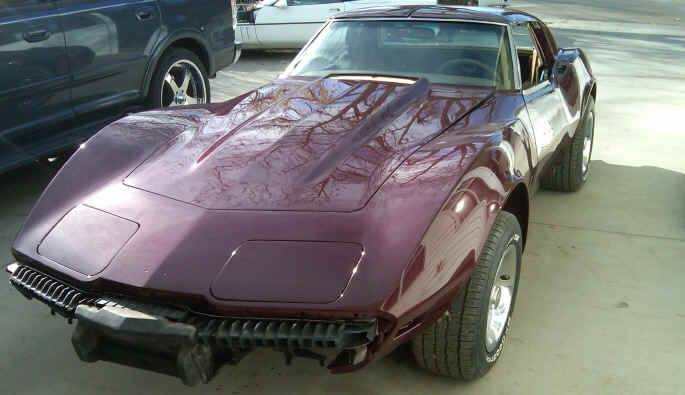
Here it is right after the second stage of clear coating, the finish is amazing and it will still be sanded again and power polished.
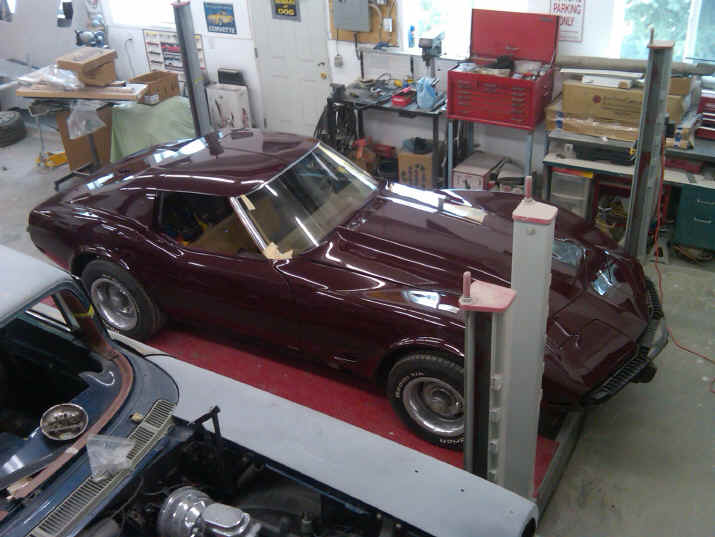
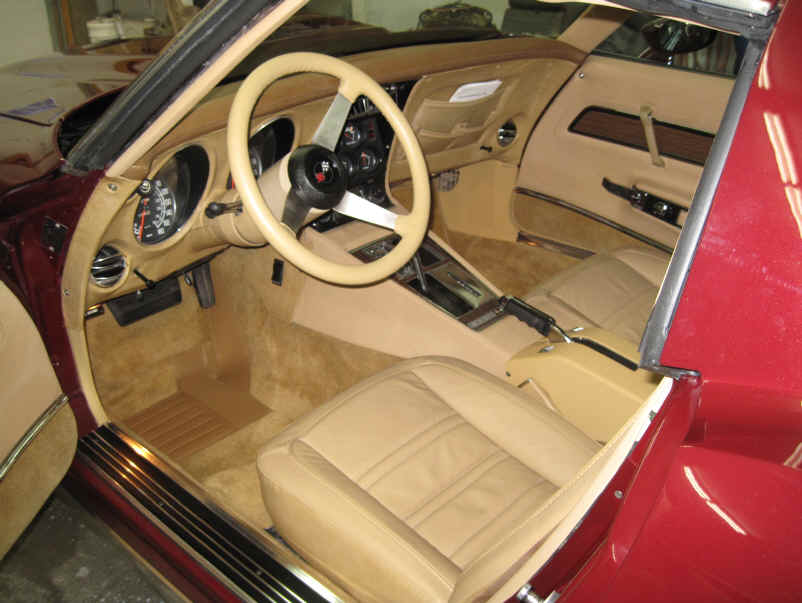
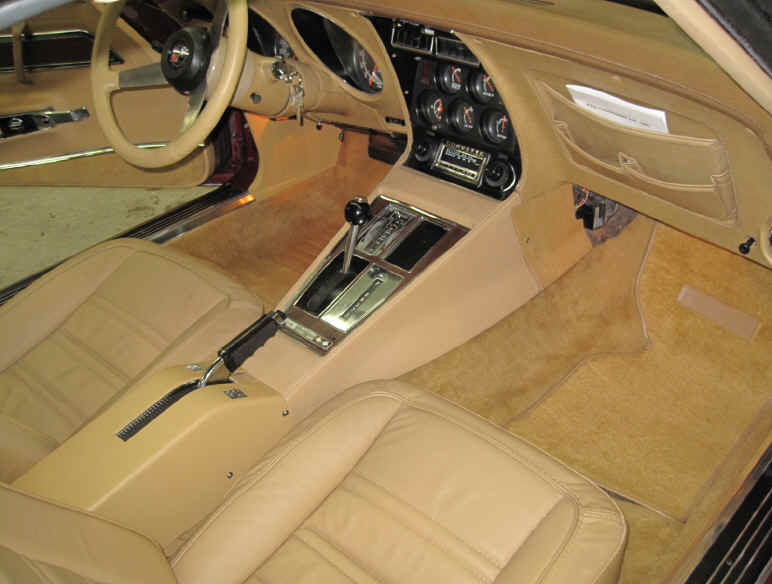
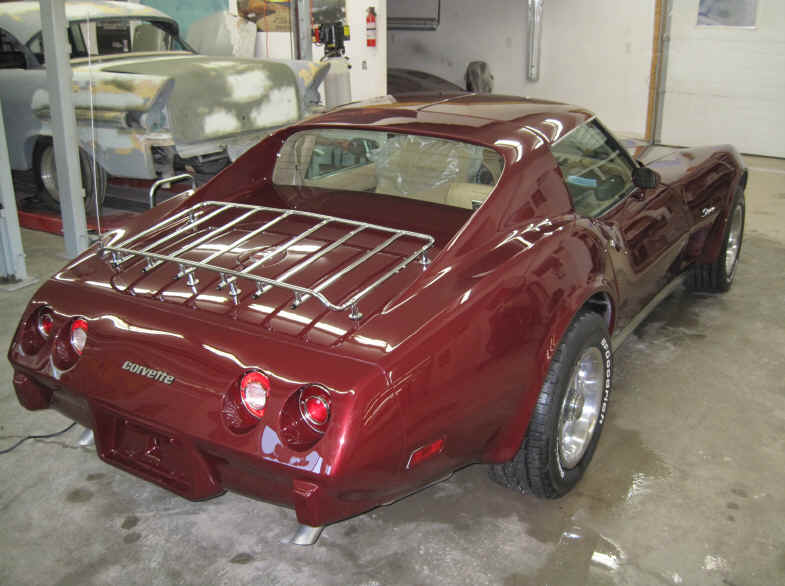
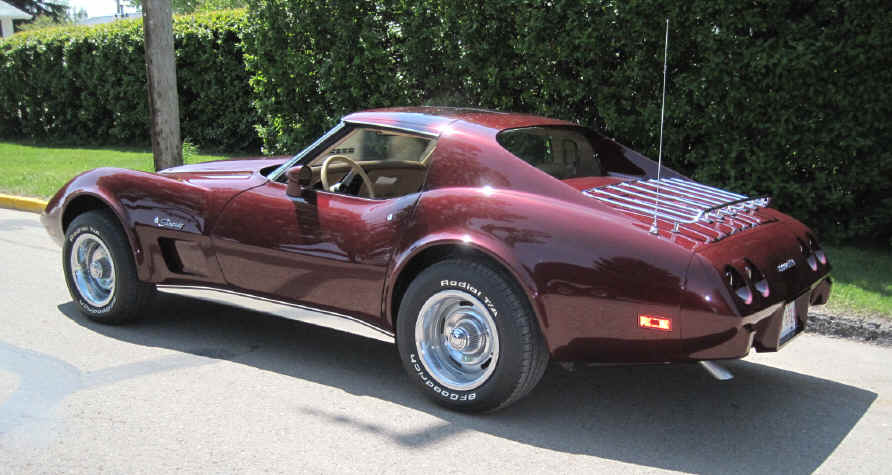
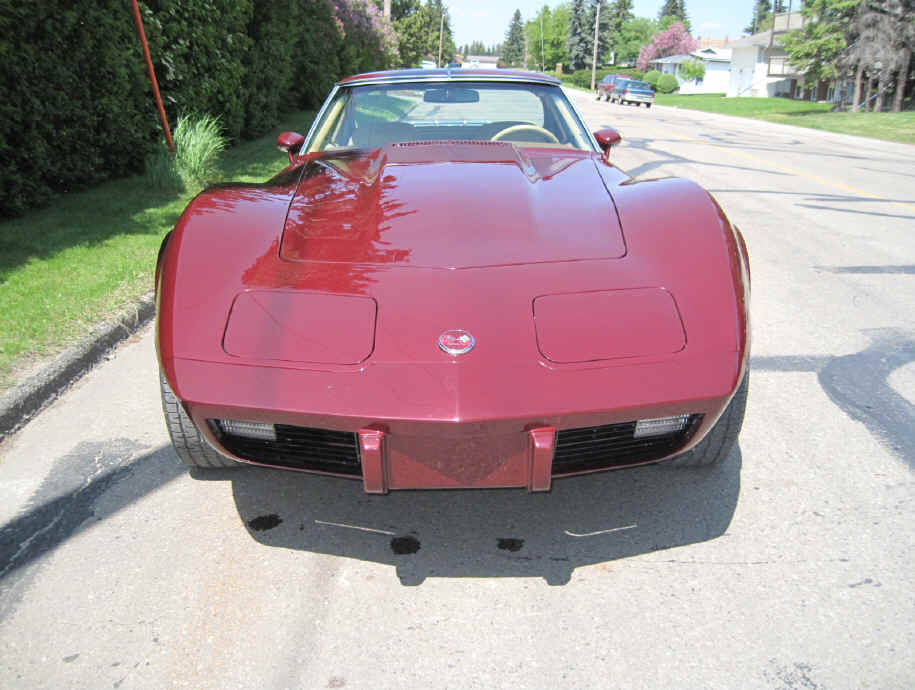
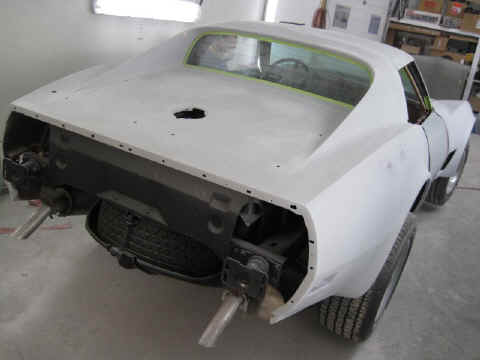
Back together it goes with every single part being new.